A stopped motor does not prove that an automation drive is safe to touch, and forcing a belt over a sheave can damage its internal cords before the damage is visible. By following the isolation, identification, inspection, installation and tension checks below, you can replace the belt without repeating the failure that caused the shutdown.
Key takeaways
- Lock out every energy source before entering the belt path.
- Match the replacement belt by profile, length, construction and markings.
- Correct sheave wear and alignment before installing the new belt.
- Never pry a belt onto sheaves; rotate the drive only when safe.
Isolate the automation drive before removing the belt
A stopped motor is not an isolated drive. Make the cogged belt replacement safe by preventing electrical, pneumatic, hydraulic, gravity and stored mechanical energy from reaching the belt path, then prove zero movement.
1. Stop the machine using its normal controls and wait for the drive to complete its shutdown. Do not remove a guard or reach toward the industrial automation belt while the shaft is coasting.
2. Identify every energy source, including the motor disconnect, control power, pneumatic supply, hydraulic accumulator, counterweight and connected drives. Isolate each source under your site’s lockout/tagout procedure.
3. Apply your personal lock and identification tag to each required isolation point. An opened electrical disconnect alone does not prove that the drive cannot restart.
4. Bleed pneumatic and hydraulic pressure to zero, discharge electrical stored energy, and block or restrain suspended parts. Record the pressure gauge readings where the system provides them.
5. Test the start command from the normal control station, then return it to the stop position. A qualified person must verify absence of electrical energy at the drive terminals with a properly rated tester.
6. Confirm zero movement before touching the belt or sheaves. Check that the shaft cannot rotate, and wait through the drive’s full coast-down period; release belt tension only after these checks pass.
7. Confirm that the machine actually calls for a cogged V-belt. If it requires fixed phase or no-slip positioning, use the specified toothed timing belt and matching pulleys instead. A cogged V-belt can slip.
Identify the exact replacement belt from the drive
Do not order from the old belt’s outside circumference alone. Wear and stretch alter that measurement, while different belt profiles use different pitch-length or datum-length conventions.
Check the drive record, motor plate, sheave markings and the belt itself for:
- Cross-section, such as Classical A, B, C or wedge SPZ, SPA, SPB, and its top width and thickness
- Pitch length or datum length, measured with a belt-measuring tool or matched to the manufacturer’s designation
- Number of belts in the set, cog orientation, and whether the belt is molded-toothed or a plain V-belt
- Cord and rubber construction, plus the specified temperature and oil, coolant or chemical resistance
- Static-conductive, food-contact, cleanroom, guarding-clearance or spark-risk requirements
Use a sheave-groove gauge or the pulley manufacturer’s dimensions to confirm the profile; a belt that fits the groove loosely has the wrong wedge angle. Jigna Sales Corporation can use those measurements and the drive conditions to narrow an unclear marking to a complete belt designation rather than an approximate size.
Confirm the application before substituting. A cogged V belt remains a friction belt: it can slip under contamination, low tension or overload. If the machine needs fixed phase, registration or no-slip positioning, specify a toothed timing belt and matching pulleys instead; a friction belt can create speed error even when its power rating looks sufficient.
Related product
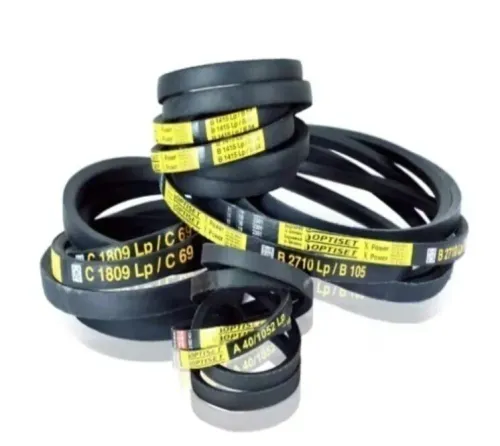
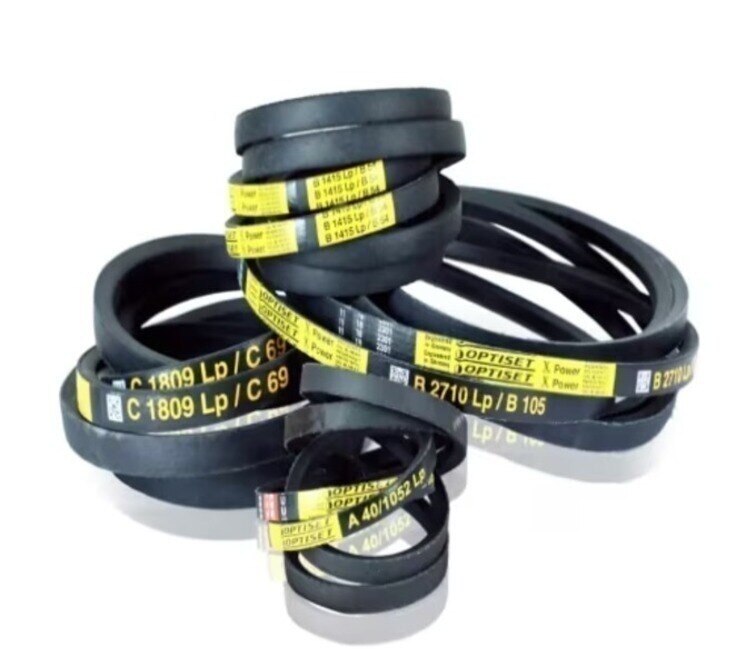
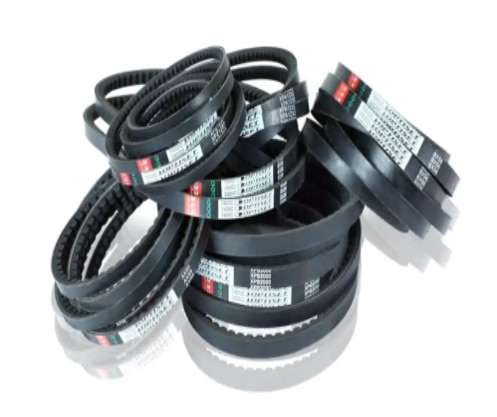 | Cogged Belt Cogged belts are suitable for all industrial applications, particularly where small or sub-minimal sheave diameters are required. View product → |
Inspect the sheaves and correct alignment problems
A new belt will repeat the old failure if worn sheaves, loose shaft supports or a contaminated belt path remain in service. Inspect the complete drive before fitting the replacement.
1. Clean the sheave faces and place a straightedge across both sheaves, or use a laser alignment tool. Correct angular or offset misalignment; it causes edge wear, vibration, unequal loading and belt tracking toward one flange.
2. Check that the shafts are parallel and that their supports, motor slide, bearings and tensioner are tight. Rotate each sheave by hand and watch for wobble or eccentricity. A moving support can destroy alignment after you set it.
3. Examine every groove for hooked or sharp sidewalls, polished or glazed surfaces, rust pitting and excessive wear. The cogged V belt must contact both groove sidewalls without touching the bottom; a belt sitting low indicates worn sheave geometry, even when its part number is correct.
4. Trace the belt path for oil, coolant, abrasive dust, trapped debris, protruding fasteners and guard interference. Remove contamination and repair anything that could cut, twist or rub the belt.
5. Replace a damaged or mismatched sheave before installation. Do not pry the belt into a groove or use belt dressing to hide slipping; prying damages internal cords, while dressing can attack rubber and collect dust.
Good cogged belt maintenance includes scheduled checks of alignment, groove condition, contamination, tension and guard integrity, not only inspections after cracking appears.
Install the belt and set tension without forcing it
Move the motor, tensioner or eccentric mount to the minimum center distance before fitting the belt. The correct method for how to replace a cogged V belt is to create slack, not to stretch the belt over a sheave.
1. Place the belt loosely around both sheaves, keeping the molded notches facing the sheave grooves. Never pry it over a flange with a screwdriver.
2. Check that every rib sits fully in its matching groove and that the belt is not twisted. On a multiple-belt drive, install the complete matched set together.
3. Restore center distance gradually by moving the motor or tensioning mechanism. Apply the manufacturer’s specified tension with the stated gauge, force and deflection method; do not guess from belt appearance.
4. Rotate the drive by hand through several complete revolutions. Recheck groove seating, belt tracking, pulley alignment and tension, because the belt can settle during rotation.
5. Tighten the motor-slide or tensioner fasteners to the specified torque, then install the guard before energising the drive.
A successful cogged belt replacement leaves no cord damage, pinched notches or sidewall distortion. Run the drive briefly under controlled conditions and stop it if you hear squealing or see wandering, vibration, rubber dust, hot spots or rapid tension loss.
Do not apply belt dressing: it can hide slipping caused by low tension or contamination and can damage the rubber.
Run, inspect and maintain the replacement drive
The drive is running correctly only if the belt stays seated, tracks centrally, and reaches steady speed without abnormal noise or vibration. After tensioning, rotate the drive by hand through several revolutions, then recheck seating, alignment, and tension before starting a short controlled run. Stop the drive and inspect it again.
| Finding | Likely meaning | Response |
|---|---|---|
| Startup squeal | Insufficient tension, overload, contamination, or an undersized drive | Find and correct the cause; adding tension alone can overload shafts and bearings |
| Belt wandering | Misaligned sheaves, shaft runout, or incorrect seating | Stop, isolate, and correct alignment |
| Rubber dust or exposed cord | Slip, groove damage, or internal belt damage | Replace the belt after correcting the underlying fault |
| Hot spot or rapid tension loss | Slip, overload, or belt settling | Recheck tension and load after the initial run-in |
| Abnormal vibration or noise | Damaged sheave, eccentric rotation, or mismatched belts | Inspect the sheaves and replace defective components |
On a multiple-belt drive, seating during the first run can reduce installed tension. Recheck it after run-in and adjust to the specified value. The answer to how to replace a cogged V belt includes this follow-up, not just installation.
Good cogged belt maintenance includes scheduled checks of tension, alignment, groove condition, contamination, and guard integrity. Never use belt dressing to hide slipping unless the belt manufacturer approves it; it can mask the fault, damage rubber, and attract abrasive dust.
Frequently asked questions
How do you isolate an automation drive before replacing its cogged V belt?
Lock out electrical, pneumatic, hydraulic, gravity and stored mechanical energy, then prove zero movement before removing the belt.
How do you identify the exact replacement cogged V belt?
Read the belt markings and confirm its profile, length, construction and drive requirements against the original belt and equipment records.
What should you inspect before installing a replacement belt?
Inspect the sheave grooves, flanges, bearings and alignment, and correct worn grooves or offset sheaves before fitting the belt.
How do you install and tension a cogged V belt?
Seat the belt by hand without prying, adjust the drive to the specified tension, then run and inspect it for tracking, noise and slippage.