A PU timing belt that walks sideways, rubs a flange, skips teeth or sheds material is signalling a specific mechanical fault—not simply normal belt wear. You will be able to separate alignment, pulley, installation, tension, contamination and belt-selection causes, then choose the right corrective measurement instead of tightening or replacing parts at random.
Key takeaways
- Stop the drive if the belt climbs, sheds material, or exposes cords.
- Check shaft alignment, pulley runout, and flange damage before replacing the belt.
- Set manufacturer-specified tension without forcing the belt onto the pulley.
- Replace the belt when cords, teeth, or repeated edge damage compromise tracking.
Identify the tracking or wear pattern before stopping the drive
A belt that moves side to side is not showing the same fault as one that repeatedly strikes a flange. Observe the drive at low speed through a guard or inspection opening; stop immediately if the belt is climbing, shedding material, or exposing cords.
1. Mark the belt edge and watch its path. Lateral wandering moves across the pulley face and reverses direction without a consistent rub mark. Repeated movement toward one side points to misalignment or a pulley defect.
2. Identify flange contact by a continuous polished or abraded strip on one belt edge, matching dust on the flange, edge delamination, or exposed tensile cords. PU timing belt tracking problems often begin here; a flange is a guide, not an alignment cure.
3. Identify tooth jumping by a sharp ratcheting sound, sudden loss of driven-shaft position, and skipped or sheared teeth. The belt can remain laterally centred, so adding side flanges will not fix it.
4. Identify genuine PU timing belt wear by damage spread across the working width: cracked tooth roots, rounded tooth faces, hardened or softened polyurethane, and evenly deteriorated cords. Localised edge damage indicates contact; repeated tooth damage indicates overload, poor tension, shock, or pitch mismatch.
Do not increase tension while diagnosing. Over-tension raises bearing and cord loads yet leaves non-parallel shafts, runout, and flange contact unchanged. Record which edge is marked, whether the belt reverses direction, and whether tooth damage coincides with each jump.
Check shaft alignment, pulley runout and flange condition
Record shaft parallelism, pulley face runout, and migration direction before changing the belt; these measurements separate alignment faults from defective hardware. A polyurethane cord timing belt that moves toward the same flange throughout rotation points to non-parallel shafts or axial pulley offset. Once-per-revolution oscillation points to eccentricity, runout, or a local defect.
- Lock out the drive and measure shaft centerlines with a straightedge or laser tool. Record horizontal and vertical offset, then compare shaft parallelism with the belt manufacturer’s limit.
- Mount a dial indicator against each pulley face. Rotate the pulley by hand and record total indicator reading; repeat on the shaft journal if accessible. Excessive shaft or pulley runout produces a repeating tracking cycle.
- Check pulley axial position, belt width, and tooth profile. A pulley shifted along the shaft can force the belt sideways even when the shafts are parallel.
- Inspect each flange for bending, looseness, incorrect height, burrs, grooves, and impact marks. Continuous flange loading can polish or abrade belt edges and expose cords.
- Check tension against the specified installation method. Increasing tension does not correct misalignment or runout and adds shaft, bearing, and cord stress, reproducing the same industrial belts problems after replacement.
| Pattern | Measurement or observation | Likely source |
|---|---|---|
| Steady movement toward one flange | Parallelism or axial position outside specification | Shaft alignment or mounting error |
| Side-to-side movement once per revolution | Pulley-face or shaft runout varies during rotation | Eccentric, damaged, or poorly seated pulley |
| Edge damage at one location | Flange height, looseness, burrs, or bending fails inspection | Defective flange rather than belt tracking alignment |
Install and tension the belt without creating a new fault
Install the belt square to the pulleys, with every tooth seated before tensioning. Follow any directional arrow; reversing a directional belt can move the tracking error to the opposite flange. Never twist the belt during installation: a half-turn forces the tensile cords into a helical path, causing vibration, edge loading and tooth misalignment.
Use this sequence to prevent new PU timing belt tracking problems:
- Keep an open-ended belt flat and untwisted while routing it around both pulleys.
- Thermal-weld the ends with the specified tooth pitch and joint orientation. A welded joint may have lower allowable tension, lower tooth-shear capacity, or a minimum pulley diameter that does not apply to a continuous molded belt.
- Seat the belt teeth fully before applying tension. A partially engaged tooth can jump, ratchet or shear when torque starts.
- Set pretension from the belt supplier’s calculation or installation method, then rotate the drive by hand and recheck seating and lateral movement.
Too little tension permits tooth jumping under torque; too much raises shaft and bearing loads, accelerates cord fatigue and increases tooth-root stress. Tighter is not a cure for flange contact or non-parallel shafts.
If the joint repeatedly enters the loaded span, reversing duty can amplify vibration and shorten its life. Confirm that the construction suits the drive before choosing an industrial belts PU timing belt for tracking wear problems; the right joint and tension matter as much as belt width.
Match each wear signature to its mechanical or environmental cause
Location usually tells you more than severity. Match the mark to the force that produced it before replacing the belt.
- Frayed or abraded edges reveal lateral rubbing. A belt continuously loading one flange points to shaft or pulley misalignment, a bent or loose flange, or a damaged edge guide. Continued contact polishes the edge, exposes tensile cords and causes delamination; higher tension will not correct it.
- Polished tooth flanks reveal sliding rather than clean tooth engagement. Abrasive debris, an incorrect tooth profile, poor seating or worn pulley teeth can remove material from the flank and create an apparent tracking fault. Inspect the pulley grooves, not only the belt.
- Cracked tooth roots reveal repeated bending or overload. Suspect a pulley below the manufacturer’s minimum diameter, shock loading, excessive pretension or a drive that forces the belt to bend repeatedly around an idler.
- Broken, pulled-out or protruding tensile cords reveal excessive tension, shock, severe misalignment or small-pulley bending. Cord construction matters: a steel-cord polyurethane cord timing belt does not tolerate the same pretension or pulley diameter as an aramid-cord belt.
Heat and chemical exposure can soften, swell or embrittle polyurethane, making pu timing belt wear progress faster even when alignment is correct. Record the damaged location, inspect pulley tooth form and remove embedded debris before deciding that the belt itself caused the failure.
Decide whether to repair the drive or specify a different belt
A replacement is justified only after you prove the drive, not the belt, is responsible. Otherwise, the new belt will reproduce the same industrial belts problems.
1. Record the existing belt’s pitch, length, width, tooth profile, cord material, hardness, and construction. Confirm the pulley tooth form, tooth count, width, axial position, flange arrangement, and face condition; identical nominal lengths do not guarantee compatibility.
2. Measure shaft parallelism, pulley face runout, belt tension, and flange height and squareness. Replace or repair bent flanges, loose hubs, burrs, eccentric pulleys, and damaged shafts before fitting another belt.
3. Check the duty against the belt specification: speed, torque, minimum pulley diameter, temperature, oil or chemical exposure, reversing frequency, and start-stop load. A welded endless PU belt has joint limits; allowable tension, tooth-shear capacity, pulley diameter, or reversing duty may be lower than for a continuous molded belt.
4. Do not add a crown to a synchronous pulley as a quick fix. Confirm that the pulley geometry and manufacturer permit it, because crowning can reduce tooth engagement and create edge loading.
Ask a supplier to match the belt when the profile, cord construction, splice method, pulley geometry, or operating environment is uncertain. Jigna Sales Corporation can use those drive details to distinguish a suitable PU timing belt from a nominally matching replacement.
Give the supplier photographs, measurements, pulley drawings, tension data, and the failure pattern; “same length” is not enough for industrial belts PU timing belt for tracking wear problems.
Related product
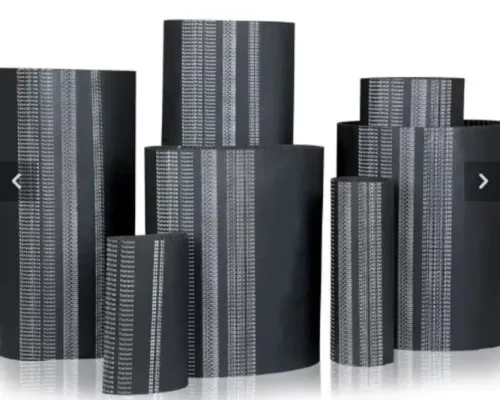
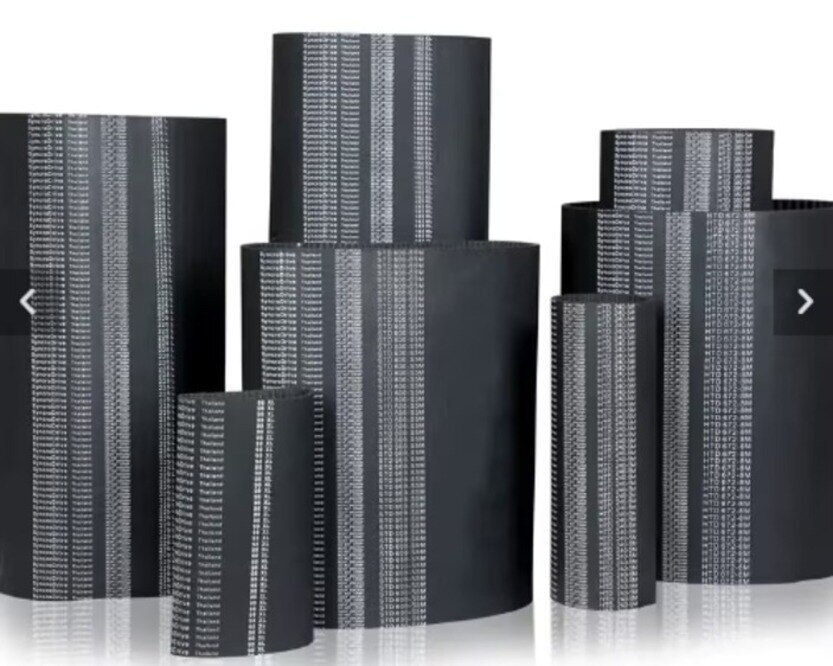
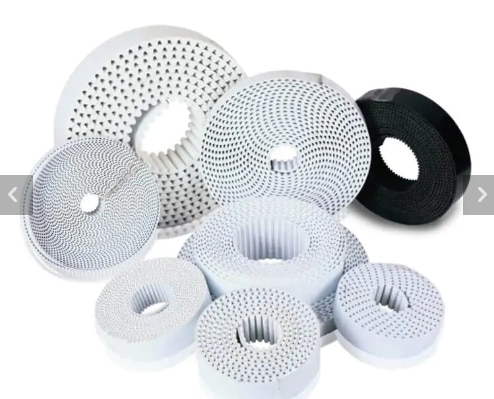 | PU Timing Belts has high performance transmission. This PU Belts has high intensive and low extension adoptive modules. View product → |
Frequently asked questions
How do you identify PU timing belt tracking problems before stopping the drive?
Observe the belt at low speed through a guard or inspection opening. Stop the drive if it climbs, sheds material, exposes cords, or repeatedly strikes a flange.
What should you check when a polyurethane cord timing belt runs against a flange?
Check shaft alignment, pulley runout, flange condition, pulley mounting, and whether the belt is installed squarely on the drive.
How do you install and tension a PU timing belt without causing wear?
Install the belt without prying or twisting it, align the pulleys, and apply the tension specified for the belt and drive rather than guessing from belt deflection.
When should you repair the drive or specify a different timing belt?
Repair alignment, runout, damaged flanges, and tension faults first. Specify a different belt when the duty, temperature, contamination, speed, or load exceeds the current belt's capability.