A worn rubber timing belt can show harmless polishing, serious tooth damage, chemical swelling or hidden cord failure, and each condition demands a different response. By following a fixed inspection sequence, tracing symptoms to the drive components and matching every replacement dimension, you can avoid fitting a new belt onto the same failure cause.
Key takeaways
- Replace the cause of belt wear, not only the failed rubber timing belt.
- Check tooth shape, cracking, glazing, tracking, and heat marks before removal.
- Measure belt pitch, tooth count, width, pulley teeth, and centre distance.
- Inspect pulley grooves, tensioner bearings, alignment, and tension before fitting.
How to Inspect a Worn Rubber Timing Belt Before Removing It
Uniform, shallow polishing on tooth flanks and belt faces is normal rubber timing belt wear when the teeth remain full-shaped, the belt tracks centrally, and no rubber is missing. Polishing becomes a failure when it is uneven, paired with heat discoloration, cracking, glazing, or loss of tooth definition.
1. Lock out the drive and photograph the belt before disturbing it. Rotate it by hand one pulley revolution, checking both faces, every tooth row, the edges, and the cord line.
2. Treat light, even polishing with intact tooth roots as acceptable. Replace the belt if you find hooked or narrowed tooth flanks, rounded or sheared teeth, missing teeth, deep cuts, transverse cracks, hardened rubber, or a glossy glazed surface that feels brittle.
3. Inspect the edges for fraying, fabric separation, curling, or contact damage. Exposed tensile cords, broken cords, and an edge worn into a taper require replacement, not trimming.
4. Look for oil, grease, coolant, or chemical attack. Swelling, softness, tackiness, blistering, delamination, or a belt wider than its matching pulley indicate contamination damage; do not clean it and return it to service.
5. Measure belt width at several points and compare the pitch length or tooth count with the manufacturer’s limit or an unused matching belt. A stretched belt, abnormal tooth spacing, or measurable length increase can cause skipping even when the rubber looks polished.
Tooth shear is not normal ageing. Record it as one of the industrial belts problems requiring replacement, then investigate overload, insufficient tension, seizure, shock loading, or incomplete tooth engagement before fitting another belt.
Match Each Belt Symptom to Its Likely Drive Fault
Use an industrial belts rubber timing belt for troubleshooting checklist that links each symptom to the force acting on the drive, not just to visible belt wear.
| Symptom | Likely drive fault | What to check |
|---|---|---|
| Tooth skipping | Low installation tension, excessive start-up torque, poor tooth engagement, pulley misalignment or slack-side vibration | Look for polished or sheared teeth and confirm wrap and tension |
| Ratcheting | Repeated tooth jump under load from overload, acceleration or a loose tensioner | Check transmitted torque and tensioner movement |
| Squeal | Belt slip from low tension, contamination, side loading or pulley misalignment | Look for glazed flanks, oil and pulley wobble |
| Vibration | Uneven tension, eccentric pulley, damaged teeth, cord damage or a tensioner resonance | Rotate the drive by hand and check runout |
| Edge tracking | Shaft or pulley misalignment, bent mounting, incorrect flange position or excessive lateral load | Mark the belt edge and observe whether it walks consistently |
| Abnormal noise | Worn pulley teeth, cracked belt teeth, bearing damage or foreign material | Inspect tooth profiles and listen at each pulley |
| Sudden loss of synchronization | Stripped teeth, broken tensile cords, a sheared key or a failed pulley hub | Stop the drive; continued running can destroy the belt and machinery |
Do not cure tooth skipping by adding tension alone. Excessive retensioning can overload shafts, bearings and cords while leaving misalignment or overload untouched.
A rubber timing belt failure involving heat, jumped or missing teeth, swollen rubber or exposed cords calls for replacement, not cutting and rejoining. Record the fault before fitting another belt.
Check the Pulley, Tensioner and Alignment Before Fitting a New Belt
A new belt will fail quickly if the old pulley, tensioner or alignment fault remains. Use this inspection sequence to separate rubber timing belt wear from damage caused by the drive system.
1. Lock out the machine and photograph the failed belt before removal. Record which edge wore, whether teeth are polished or sheared, and whether the tensile cords are exposed. One-sided edge wear points to misalignment; tooth shear points to overload, poor engagement or insufficient tension.
2. Remove the belt without prying it over a flange. Inspect every pulley and idler for hooked or polished tooth flanks, burrs, damaged flanges and incorrect tooth form. Measure runout and replace any component outside the applicable manufacturer’s limit.
3. Rotate each pulley and idler by hand. Roughness, binding, looseness or a seized bearing identifies a load source that can overheat, stretch or strip the replacement belt.
4. Check shaft parallelism and pulley face alignment with a straightedge or laser. Measure flange-to-belt clearance and inspect bearing movement; a flange retains an aligned belt, but it cannot correct angular or parallel offset.
5. Check the tensioner for a weak spring, damaged pivot or incorrect travel. Confirm the belt was tensioned through the adjustable center distance or tensioner, not forced onto the pulley, because kinking and excessive bending can break cords.
6. Find oil, grease, coolant, solvent or chemical leaks. Swelling, tackiness, embrittlement or delamination means contamination caused the failure; eliminate the leak and replace the belt with a compatible compound.
Recurring industrial belts problems require correcting the measured cause, not simply fitting a new belt.
Measure the Belt and Pulley System Before Ordering a Replacement
Do not order from the old belt’s outside length alone. Record its tooth count, pitch length, belt width, tooth shape, manufacturer code and any printed material marking; measure the pulley tooth count, face width and pitch diameter. A stretched, damaged or incomplete belt marking is not a reliable specification.
Use this order sheet:
- Belt pitch or profile: matching metric trapezoidal, HTD or other curvilinear system
- Pitch length or tooth count, plus belt width
- Pulley tooth count, bore, keyway and usable face width
- Tensile-cord material, such as fiberglass, aramid or steel
- Rubber compound, tooth facing and any backing fabric
- Peak torque, speed, start-up load and minimum pulley size
- Resistance to oil, heat, ozone, static electricity or food-contact restrictions
Belt pitch, tooth form and pulley geometry must belong to the same system. A belt with the correct tooth count can still polish, crack or run noisily when its flanks contact the wrong pulley profile.
| System comparison | Match on the belt | Match on the pulley | Result if mismatched |
|---|---|---|---|
| Metric trapezoidal | Pitch and tooth angle | Same pitch and tooth groove | Partial contact and tooth wear |
| HTD or curvilinear | Pitch and curvilinear profile | Same groove form and pitch | Skipping, noise and overload |
| Inch-based profile | Inch pitch and tooth form | Same inch standard | Poor engagement with metric parts |
For enquiries to rubber timing belt manufacturers in India, send this complete specification rather than “industrial rubber timing belt.” Jigna Sales Corporation can use these measurements to distinguish a true replacement from a belt that merely looks similar.
An industrial belts rubber timing belt for troubleshooting record should also identify the drive’s peak load, not only its running power.
Related product
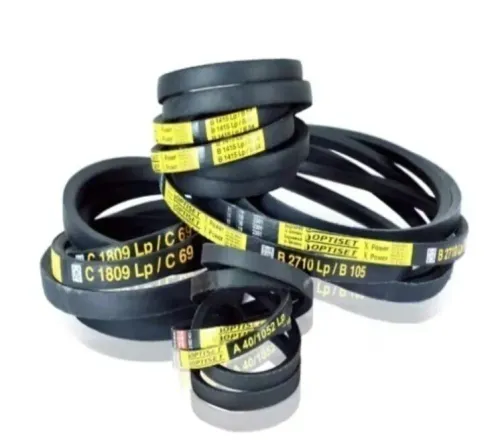
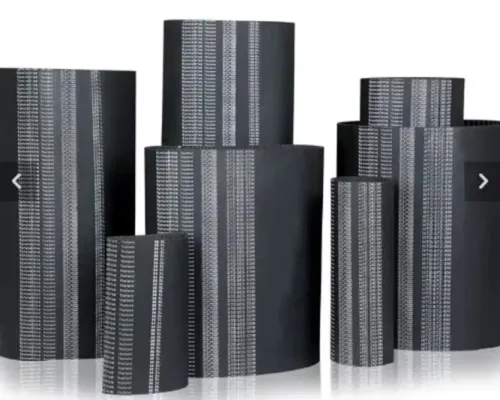
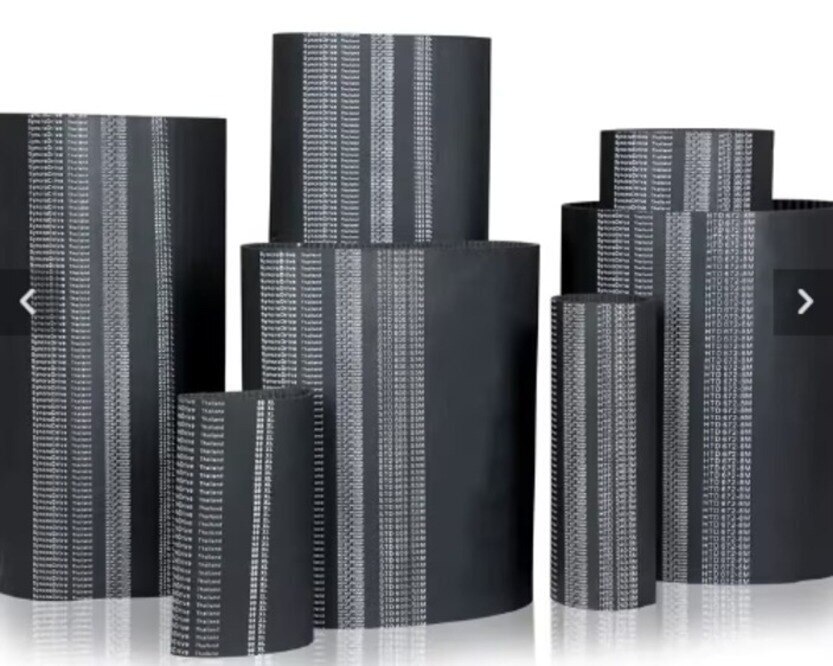
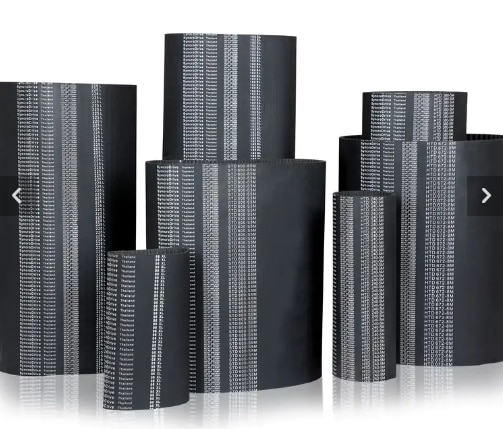 | Rubber Timing Belts Timing belts make less noise compare to chain belts and gear belts and has high transmission capacity and efficiency. View product → |
Replace the Failure Cause, Then Commission and Store the New Belt Correctly
- Replace the belt rather than repair or shorten it after heat damage, tooth jumping, tooth loss, or exposed or broken tensile cord.
- Replace a swollen or tacky belt; oil, grease, solvent, coolant, and process chemicals can soften or embrittle rubber. Remove the leak and specify a compound and facing rated for that exposure.
- Do not cut and rejoin a synchronous belt. The altered tooth geometry and interrupted cord cannot preserve timing accuracy or rated load capacity.
Correct the mechanical cause before fitting the replacement. Check peak torque, driven-machine seizure, pulley engagement, and shaft alignment; a new belt will repeat the rubber timing belt failure if the drive remains overloaded. Set tension to the belt manufacturer’s stated value using the specified gauge or deflection method.
Move the adjustable center distance or tensioner into position rather than prying the belt over a flange. Rotate the drive by hand, then run it unloaded and under normal load while checking tracking, noise, vibration, temperature, and synchronization.
Store the replacement flat or on the manufacturer’s recommended spool in a cool, dry, dark area away from ozone-generating electrical equipment, heat, oil, and chemicals. Never fold or kink it. Rotate stock by purchase date, and inspect for cracks, hardening, or cord damage before installation; storage cannot reverse rubber timing belt wear already present.
Frequently asked questions
How do you inspect a worn rubber timing belt before removing it?
Photograph the belt in place and check tooth shape, tooth loss, cracking, glazing, heat discoloration, missing rubber, tracking, and contamination before removal.
What drive faults cause common rubber timing belt symptoms?
Uneven tooth wear points to misalignment or pulley damage; tooth shear points to overload or incorrect tension; cracking points to heat, age, or chemical exposure; and edge wear points to tracking or alignment faults.
What should you check before ordering a replacement timing belt?
Record the belt pitch, tooth count, width, tooth profile, construction, pulley tooth counts, centre distance, and tensioner arrangement. Match these measurements with the equipment specification.
How should you commission and store a replacement rubber timing belt?
Correct the failed drive condition, install the belt without levering it over a pulley, set tension to the equipment specification, rotate the drive by hand, run it under observation, and store spare belts cool, dry, shaded, and free from kinks.