A failed timing belt is usually evidence of a drive problem, not an isolated part failure. You will learn how to identify the damage pattern, verify the complete belt and pulley specification, select rubber or polyurethane for the operating environment, and replace the belt without repeating the failure.
Key takeaways
- Photograph the belt, pulley teeth and debris before removing anything.
- Match belt pitch, tooth profile, length and width to machine records.
- Choose rubber for heat and oil exposure; compare polyurethane for demanding conditions.
- Correct alignment, tension and pulley defects before fitting the replacement.
Read the Failure Pattern Before Removing the Belt
Photograph the belt before loosening it: capture the failure location, tooth pattern, sidewalls, pulley teeth and surrounding debris. Damage at one circumference position points to a local pulley defect or obstruction; evenly distributed tooth wear points to sizing or operating conditions.
Sidewall wear indicates misalignment or flange contact, while longitudinal cracking indicates heat, ozone, ageing or chemical attack.
| Failure pattern | What it suggests | Check first |
|---|---|---|
| Skipped teeth | Inadequate tension, an undersized pulley, overload or backlash | Tension, pulley diameter, torque and backlash |
| Sheared teeth | Shock loading, excessive torque, damaged pulley teeth or a mismatched tooth form | Pulley profile, load peaks and belt-to-pulley compatibility |
Cracking, delamination between belt layers, frayed cords and edge wear reveal different damage paths; a shiny glazed surface points to heat or slip. Oil, coolant, solvent, detergent or hydraulic fluid can soften or swell rubber, while abrasive contamination cuts teeth and cords.
Abnormal noise—clicking, chirping or grinding—can signal skipping, misalignment, damaged teeth or a seized bearing.
These are the main rubber timing belt failure causes, so do not fit a replacement before checking the pulley tooth flanks, tooth tips, flanges, shaft runout, keyways and bearing play. For rubber timing belts for machinery problems in Mumbai, record the evidence before removal: replacing only the belt can reproduce the same failure.
Follow a Safe Troubleshooting Sequence on the Machine
1. Isolate electrical power and stored mechanical energy under lockout/tagout before touching the drive. For rubber timing belt troubleshooting in Mumbai, record load, speed, starts, reversing, jams, ambient temperature, washdown, humidity, dust and oil, chemical or detergent contamination.
2. Inspect guards, the belt drive and enclosure before removing anything. Provide drainage for washdown water and condensation, plus inspection access; a sealed guard that traps heat and oil vapour creates another failure. Keep loose cloth, fasteners and cleaning tools out of the drive.
3. Check shaft parallelism and pulley-face alignment with a straightedge or laser. Then examine shaft runout, keyways, bearing play, seized bearings, pulley tooth flanks, tooth tips and flanges. Confirm minimum pulley diameter, adequate wrap angle and suitability for shock loading. For rubber timing belts machinery repair, do not use a flange to hide misalignment.
4. Measure tension using the belt manufacturer’s specified method, not by pressing the span with your thumb. Excessive pretension will not cure skipping; it raises shaft and bearing loads. Check center distance, backlash and load before ordering a belt with greater capacity, a larger pulley or improved wrap.
Loosen the drive through its tensioning arrangement or reduced center distance. Never lever a belt over a flange with a screwdriver or pry bar: the tensile cords can suffer hidden damage and fail early. Photograph and record each finding before replacement.
Turn Belt Markings and Machine Records into a Complete Specification
Verify fit and synchronization by building a complete specification, not by ordering “rubber timing belt replacement industrial machinery, 25 mm.” That description omits the dimensions and construction that control engagement.
1. Read the old belt marking and compare it with the machine manual and drive drawing. Record pitch or tooth standard, tooth profile, pitch length, width, tooth count, construction, cord type, facing, antistatic requirement and rotation direction.
2. Confirm pitch length as the length measured along the pitch line, not the outside circumference. A worn or stretched belt measured with a tape measure can produce the wrong order; use the marked designation or the manufacturer’s measurement method.
3. Measure and record each pulley’s tooth count, outside diameter, tooth form, flange or guide arrangement and required rotation direction. Matching pitch alone is unsafe: an HTD-type belt and a trapezoidal-tooth belt are not interchangeable.
4. Check the manual or drive calculation for design power and service factor. Starts, reversing, high inertia, jams, cyclic loading and shock loads require more capacity than motor nameplate power alone indicates.
5. For rubber timing belt troubleshooting in Mumbai, compare the specification with pulley wear and the machine record before ordering. Check tooth flanks, tooth tips, shaft runout, keyways and bearing play; a damaged pulley can destroy a correctly tensioned replacement. Keep the complete identification on the purchase order.
Choose Rubber or Polyurethane for the Actual Operating Conditions
Choose the construction against the actual duty, not the word “rubber” or “polyurethane.” For rubber timing belts for machinery problems in Mumbai, water from monsoon washdown is not proof of compatibility with coolant, solvent, detergent, hydraulic fluid or ozone.
| Construction | Better fit | Checks before choosing |
|---|---|---|
| Rubber | Flexible drives, moderate speed, oil or heat exposure when the compound is approved | Exact compound, facing, cord, continuous and peak temperature, chemical limits and minimum pulley diameter |
| Polyurethane | Clean drives needing high wear resistance, low elongation or welded endless belts | Cord construction, solvent and detergent resistance, moisture, speed, splice method and reverse bending |
| Either | Correct only when the complete belt and pulley system matches | Abrasive dust, flexing frequency, pulley diameter, wrap angle, cleanliness and required elongation control |
Request the manufacturer’s limits for the exact compound, facing and cord. A nominal temperature rating does not guarantee life near its upper limit, and water resistance does not establish chemical compatibility. Check the smallest pulley and every reverse bend; cord fatigue or tooth compression can begin there.
The rubber timing belt failure causes you are trying to prevent include excessive temperature, incompatible chemicals, abrasive bulk material and severe shock. Treat these as selection warnings. If the drive needs a chain, V belt or another design, do not force a synchronous belt into service without independent manufacturer data.
Also verify splice requirements before ordering; a belt that cannot be supplied endless or joined with the required pitch accuracy will not synchronize reliably.
Replace the Belt Without Creating the Next Failure
A replacement fails quickly when the original cause remains. For rubber timing belts machinery repair, complete this rubber timing belt replacement industrial machinery checklist before installation:
1. Inspect pulley tooth flanks, tips and flanges. Replace polished, hooked, undercut or damaged pulleys; repair shaft and pulley alignment; resolve shaft runout, bearing play or seizure; and improve inadequate wrap or center-distance adjustment.
2. Correct contamination, excessive heat and dust before fitting the belt. Check the compound and cord against water, coolant, oil, solvent, detergent and hydraulic fluid rather than treating all exposure as “industrial rubber.”
3. Replace any belt that is elongated, has missing teeth or shows exposed cord. Never cut, patch or join it: timing belts require fixed tooth pitch, and repairs destroy pitch registration.
4. Store the replacement clean and dry, away from sunlight, ozone-generating equipment, heat and chemicals. Keep it untensioned and free of kinks or sharp folds.
5. Install by reducing center distance or using the specified tensioning arrangement; never lever the belt over a flange with a screwdriver. Before release, check manufacturer-specified tension, rotation direction, guard clearance and flange tracking.
6. During the first run, watch for noise, wandering, vibration and tooth engagement, then record tension, speed, load, temperature, contaminants and observations.
Jigna Sales Corporation is a Mumbai industrial belt supplier to consult when the specification requires matching the belt, pulley and operating conditions, not merely buying by width.
Related product
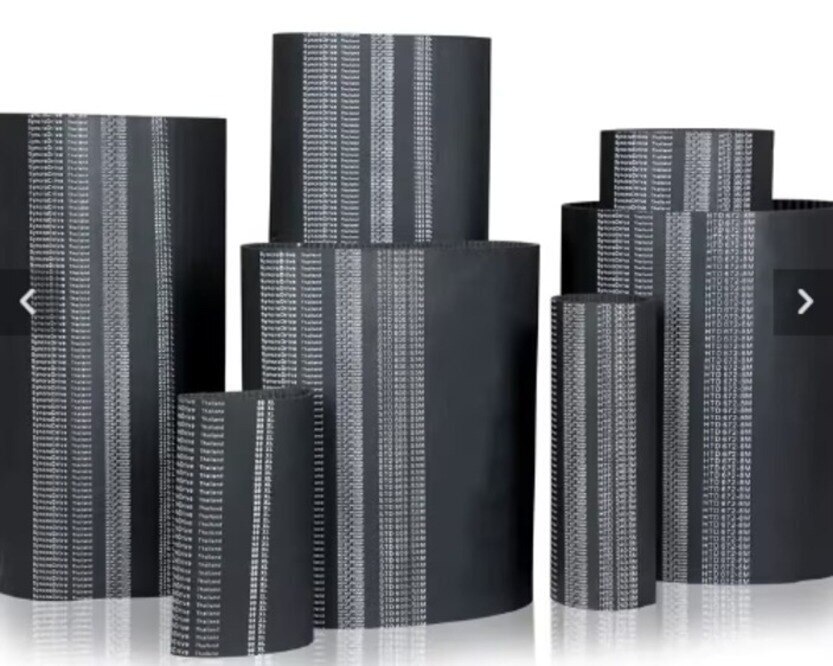
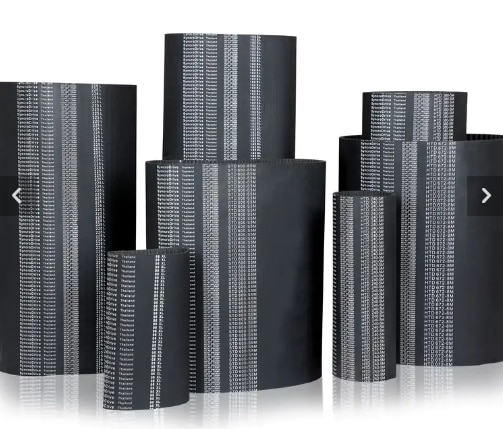 | Rubber Timing Belts Timing belts make less noise compare to chain belts and gear belts and has high transmission capacity and efficiency. View product → |
Frequently asked questions
What should you inspect before removing a failed rubber timing belt?
Photograph the failure location, tooth pattern, sidewalls, pulley teeth and surrounding debris. Damage at one circumference position suggests a local pulley defect or obstruction, while evenly distributed wear points to sizing or operating conditions.
What is a safe troubleshooting sequence for rubber timing belt failures?
Isolate and lock out the machine, document the failure, inspect pulleys and obstructions, check alignment and tension, then compare the belt with machine records before selecting a replacement.
Which belt details are needed to specify a replacement?
Record the belt marking, pitch, tooth profile, tooth count or length, width, material and pulley dimensions. Confirm these details against the machine manual and the installed pulley set.
When should you choose a rubber or polyurethane timing belt?
Choose the material against the operating conditions, including temperature, oil or chemical exposure, load, speed, noise and required flexibility. Do not change material without checking pulley compatibility and the machine’s design.