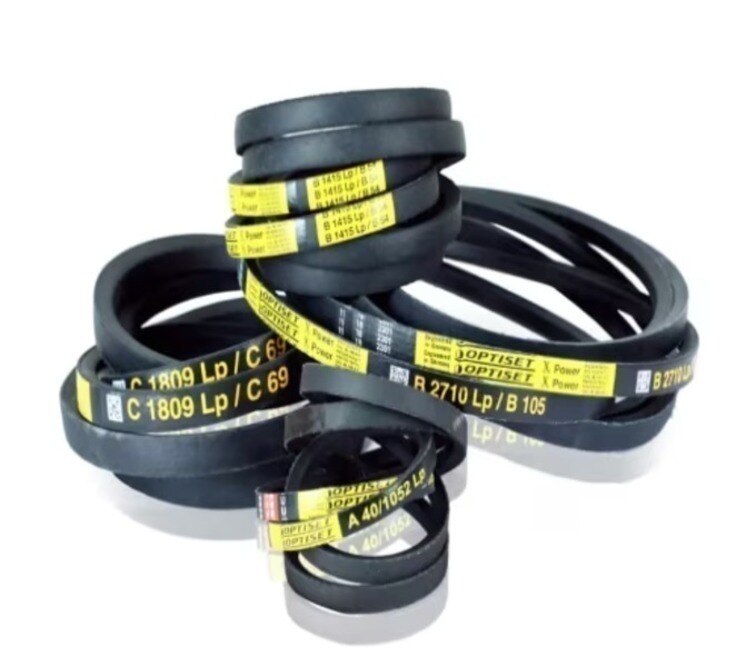
A squealing, slipping, cracked, or repeatedly failing cogged belt is often a symptom of a damaged sheave, poor alignment, excessive load, or the wrong belt specification. By following the failure pattern, fit checks, recovery steps, and controlled restart method below, you can separate belt damage from drive-system faults and choose a replacement that lasts.
Key takeaways
- Read wear patterns before removing a failed cogged belt.
- Match belt section, length, sheave profile, and drive speed.
- Stop the drive before recovering a slipping or broken belt.
- Align sheaves and set tension with the manufacturer’s method.
Read the failure pattern before replacing the cogged belt
Do not replace a cogged belt until its failure pattern points to the cause. A cogged V-belt is not a synchronous timing belt: its notches improve flexibility, but insufficient tension or overload still causes slip.
1. Squealing, flank glazing, and overheating indicate slip at the sheave. Check tension, load, and oil or coolant in the grooves before fitting another belt.
2. One-sided wear, edge fraying, and repeated cord breaks near one edge point to shaft misalignment, sheave runout, or a damaged groove. Vibration strengthens that diagnosis.
3. Worn ribs, polished flanks, and a belt that jumps suggest poor seating, an incorrect sheave profile, excessive clearance, or a belt section that does not match the drive.
4. Longitudinal splits reveal excessive heat or chemical attack. Cracks across the belt often reflect heat, age, or repeated flexing around a sheave that is too small for the belt construction.
5. A clean transverse break indicates shock loading or tensile overload. Repeated breakage demands checks for seized bearings, an overloaded machine, sudden starts, and incorrect tension rather than another belt alone.
6. Record the belt designation, length reference, section, rib count, sheave condition, and operating temperature. Inside, outside, and datum length references are not interchangeable.
These checks expose cogged belt problems in Chennai and prevent common cogged belt maintenance problems, especially contamination hidden in the grooves. Clean oil, grease, coolant, and chemical residue, then find the leak; belt dressing only masks the fault and can attract abrasive dust.
Confirm the belt, sheave, and drive are correctly matched
A new belt is the wrong fix if its section, working length, or tooth and rib count does not match the drive. Confirm the belt’s construction, length-reference system, temperature and duty rating, then compare the sheave profile, diameter, centre distance, and rotation direction with the machine specification.
Use this industrial belt manufacturers India troubleshooting checklist:
- Read the belt marking and measure the section and length; inside, outside, and datum or effective length are not interchangeable.
- Match belts in a multi-belt drive as a set. Do not mix new and heavily worn belts, or different manufacturers’ length systems, without confirmed interchangeability.
- Inspect each sheave for polished or widened grooves, cracks, incorrect flank shape, and excessive runout. A replacement belt cannot seat correctly in a worn groove.
- Check alignment with a straightedge or laser. Offset shafts and angular misalignment push the belt against one flange and create edge wear.
- Rotate the drive by hand after isolation. Roughness, tight spots, or a pulley that will not turn points to a seized bearing or machine obstruction, not a belt-fit problem.
- Compare the required load and speed with the drive capacity. Persistent slip or heating after correct fit and tension indicates overload, undersizing, or an unsuitable design.
- Remove oil, coolant, dust, and packed debris from grooves before testing; contamination causes slip even when dimensions match.
After fitting, monitor tracking, noise, temperature, and tension during a controlled run. If the belt settles and tension changes, follow the supplier’s specified recheck interval rather than tightening by guesswork.
Recover a slipping or failed cogged belt safely
Stop the drive, isolate every energy source, and apply lockout/tagout before opening the guard. Verify zero movement and zero stored energy; never pull a slipping belt from a rotating sheave.
1. Photograph the existing routing, then inspect the belt for jumped teeth, missing cogs, cracked rubber, exposed cords, torn edges, glazing, or oil saturation. Retension only a structurally sound belt after correcting low tension, poor seating, or misalignment.
2. Rotate the isolated drive by hand and check for seized bearings, stiff shafts, damaged guards, and abnormal runout. Clean oil, grease, coolant, and chemical residue from the belt path and sheaves, then find and repair the leak. Do not apply belt dressing; it masks contamination and attracts abrasive dust.
3. Inspect each sheave for polished, widened, cracked, or incorrectly profiled grooves. Check groove dimensions and runout with the applicable gauge or profile standard. Replace a worn sheave before fitting the belt, or the new belt will not seat correctly.
4. Fit the specified section, pitch or length, rib or tooth count, construction, and rotation direction. Do not force the belt over the flange with a lever, which can damage tensile cords.
5. Set tension using the belt manufacturer’s span-deflection or frequency method, not thumb pressure. Excess tension overloads shafts and bearings.
6. Rotate the drive by hand to seat the belt, refit guards, and perform cogged belt recovery in Chennai with a controlled no-load restart. Stop and recheck tracking, noise, temperature, and tension, then follow the supplier’s interval for the post-installation tension check.
Align and tension the replacement without creating new damage
Set the belt straight and tension it to the manufacturer’s specified value; do not cure slip by tightening until the belt feels hard. Excess tension transfers unnecessary radial load to shafts and bearings, raises belt temperature, and fatigues the tensile cords.
Use this sequence:
- With the machine locked out, place a straightedge across the sheave faces or use a laser alignment tool. Correct both offset and angular misalignment; a belt running against a flange will fray its edge and heat rapidly.
- Check that each sheave is secure, undamaged, and free of rubber dust, oil, coolant, and rust. Clean grooves with a dry, lint-free cloth; do not scrape them with a screwdriver or spray belt dressing.
- Fit the belt without levering it over the sheave. Rotate the drive by hand so the belt seats evenly, then check that every groove carries the same belt position.
- Set tension using the specified span-deflection force or frequency reading. Thumb pressure is not a measurement. Recheck after rotating the drive several revolutions.
A belt that has exposed cords, torn cogs, cracking, severe glazing, or a jumped tooth pattern needs replacement, not retensioning. Replace matched multi-belt sets together; mixing a new belt with worn belts overloads the new one.
Keep the guard fitted and prevent oil, abrasive dust, and water from entering the drive. Record the tension method and reading for future cogged belt maintenance problems. This information also improves industrial belt manufacturers india troubleshooting when early wear returns after installation.
Choose a supplier that can diagnose the whole drive
A belt code alone cannot diagnose a drive. Give industrial belt manufacturers in India the belt section, number of ribs or teeth, length designation, length-reference system, construction, operating temperature, chemical exposure, machine speed, load, centre distance, sheave diameters, and rotation direction.
Send clear photographs of the belt markings, sheave grooves, alignment, and damage. Add the old belt’s batch or traceability details, the machine model, and whether the drive uses a matched set. A replacement with the same nominal length can still be wrong when one belt uses inside length and another uses datum or effective length.
- Ask the supplier to check groove width, flank profile, polished or widened grooves, cracks, and runout before quoting a belt.
- State whether oil, coolant, dust, heat, or washdown chemicals contact the drive.
- Do not mix a new belt with substantially worn belts, or combine different manufacturers, unless interchangeability is confirmed.
industrial belt manufacturers india troubleshooting is strongest when the supplier reviews the whole drive rather than selling a replacement by length alone. This approach addresses industrial belt manufacturers in india cogged belt problems in chennai without guessing from a symptom.
| Option | What the supplier can do | When local support helps |
|---|---|---|
| Remote quotation | Match data and photographs | The drive is accessible and measurements are reliable |
| Chennai supplier visit | Check sheaves, alignment, tension, and fit on site | Repeated failures, urgent production loss, or uncertain dimensions |
| Local stock with technical review | Supply a verified equivalent or matched set | An imported belt is unavailable or its specification is unclear |
Jigna Sales Corporation can be useful when a Chennai replacement needs belt selection tied to inspection findings, not just immediate availability.
Related product
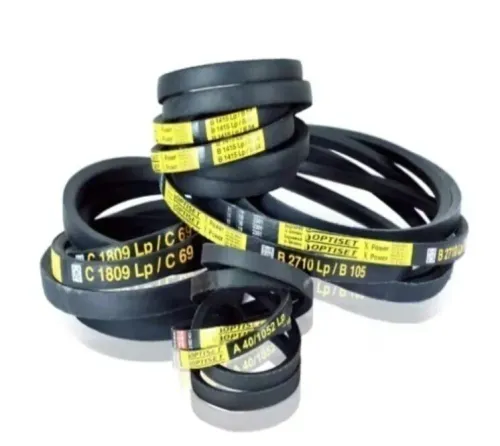
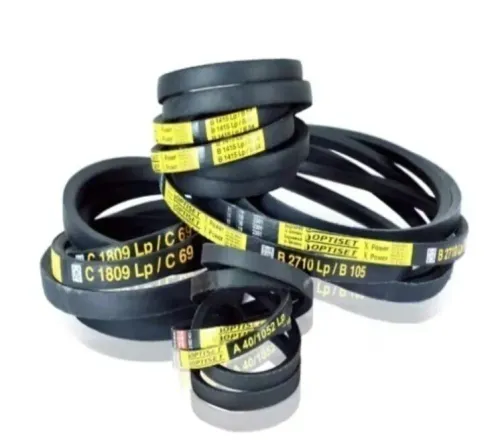
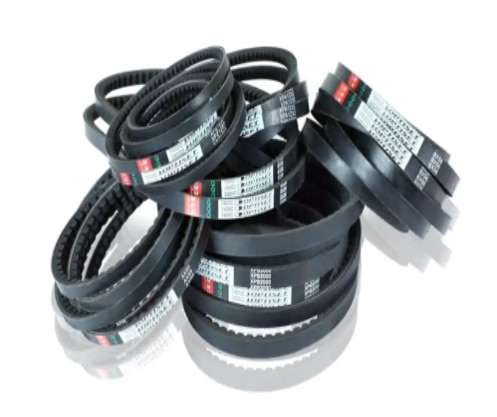 | Cogged Belt Cogged belts are suitable for all industrial applications, particularly where small or sub-minimal sheave diameters are required. View product → |
Frequently asked questions
How can you identify the cause of a cogged belt failure?
Inspect the belt for sidewall glazing, cracked notches, uneven wear, cord exposure, and missing chunks before replacing it. Compare those signs with tension, overload, contamination, and sheave condition.
How do you confirm that a cogged belt and drive are correctly matched?
Check the belt section, pitch length, number of ribs, sheave groove profile, centre distance, speed ratio, and power requirement. A cogged V-belt must run in compatible grooves and carry the drive load.
What should you do when a cogged belt slips or breaks?
Isolate and lock out the machine, release stored energy, guard against unexpected movement, and remove belt fragments with tools. Find the cause before fitting a replacement.
How do you prevent new cogged belt damage after replacement?
Clean the sheaves, correct angular and parallel alignment, install the specified belt length, and set initial tension using the belt manufacturer’s procedure. Recheck tension after the initial run-in.